Achieving a lush, green lawn can feel like a daunting task, but with hydroseeding, the effort becomes much more manageable. However, knowing how to care for hydroseed properly is just as critical as the seeding process itself. Skipping these steps could leave you with patchy results instead of the vibrant lawn you’ve envisioned.
Hydroseeding is a cost-effective and efficient way to establish a lawn. Whether you’re starting from scratch or repairing bare spots, the right care routine ensures great results. This comprehensive guide covers everything you need to know—from watering schedules and fertilization tips to troubleshooting common issues. With a bit of patience and routine maintenance, you’ll have the lush, green lawn you’ve always wanted.
Summary Table of Key Care Tips for Hydroseed
| Category | Details |
|---|---|
| Watering | Keep the soil moist, watering 3–4 times/day in the first two weeks. |
| Fertilizing | Apply starter fertilizer after 4 weeks to encourage healthy growth. |
| Mowing | First mow when grass reaches 3 inches in height. |
| Avoiding Traffic | Limit foot traffic for 4–6 weeks to allow the grass to establish roots. |
| Troubleshooting | Address bare patches by reseeding early for quick recovery. |
Feel free to pin or save this table for quick reference as you care for your hydroseed lawn!
What Is Hydroseeding, and Why Is It Popular?
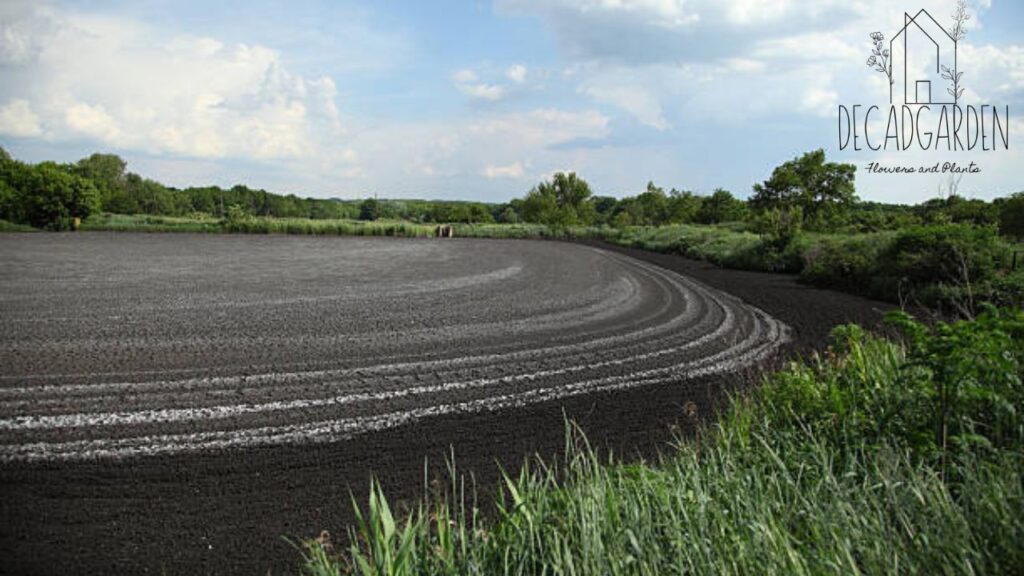
Hydroseeding is a process that involves spraying a mixture of grass seed, water, mulch, and fertilizer onto the soil. This advanced method allows seeds to germinate quickly while being protected by a layer of mulch. It’s a popular lawn-establishment technique due to its efficiency, cost-effectiveness, and ability to cover large areas.
Compared to traditional seeding or laying sod, hydroseeding offers quicker initial growth and better erosion control. It’s perfect for areas with slopes or uneven terrain where other methods may struggle.
Benefits of Hydroseeding:
- Cost-Effective: Significantly cheaper than sod installation.
- Customizable: Suitable for a variety of seed types, including drought-tolerant blends.
- Erosion Control: Excellent for areas prone to soil erosion.
- Fast Germination: Delivers quicker results compared to traditional seeding methods.
Now that we know why hydroseeding is so popular, let’s look at how to ensure your hydroseed thrives.
Step 1: Watering Your Hydroseed Lawn
Watering is the single most important factor in ensuring your hydroseed grows successfully. Since hydroseeding relies on moisture for seed germination, neglecting a consistent watering routine can lead to patchy or uneven grass growth.
Week 1–2: Intensive Watering Schedule
- Water 3–4 times per day to keep the topsoil consistently moist.
- Focus on short, frequent watering sessions rather than long soakings.
- Avoid letting the hydroseed dry out completely, especially in warm weather.
Week 3–4: Reducing Frequency
- After germination begins, reduce watering to 1–2 times per day.
- Check the soil daily to ensure it’s slightly moist but not overly soggy.
Pro Tip: Use a gentle sprinkler setting to avoid washing away seeds. A fine mist is ideal for keeping everything in place.
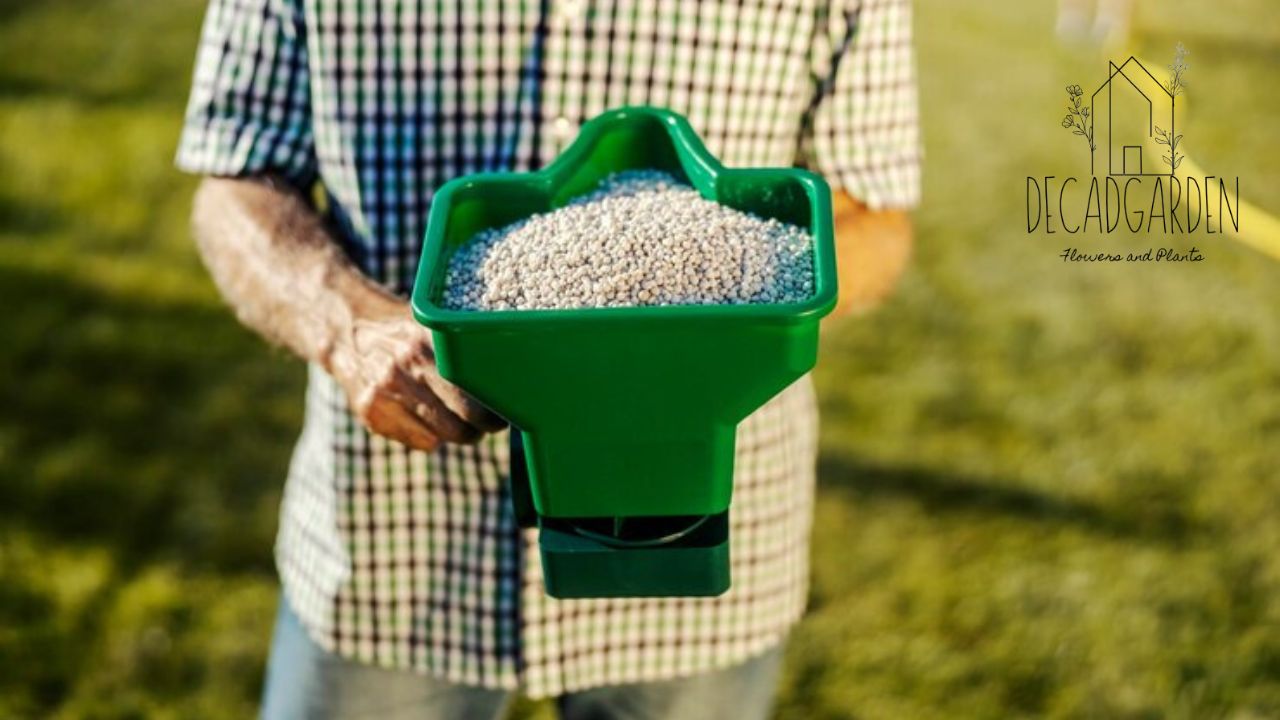
Step 2: Fertilizing for Strong Roots
After the initial germination period, fertilizing can give your hydroseed a significant boost. Fertilizers provide essential nutrients like nitrogen, phosphorus, and potassium to encourage robust root development and thicker grass.
- First Application: Apply a starter fertilizer about 4 weeks after hydroseeding.
- Frequency: Reapply fertilizer every 6–8 weeks during the growing season.
- Type: Choose a balanced fertilizer (10-10-10) or one designed specifically for new grass.
Make sure to apply fertilizer evenly to avoid “hot spots” or streaking, which can damage young grass blades.
Step 3: When (and How) to Mow Your New Lawn
Timing your first mow is crucial for avoiding stress on your baby lawn. Hydroseeding typically results in grass growth within 7–10 days, depending on weather conditions.
Mowing Guidelines:
- Wait until the grass is at least 3 inches tall before mowing for the first time.
- Set your mower blade to the highest setting to avoid cutting too much at once.
- Avoid mowing during wet conditions, as this can damage delicate soil and roots.
Regularly sharpen mower blades to ensure clean cuts, as dull blades can tear the grass and stunt its growth.
Step 4: Protecting Your Lawn from Foot Traffic
Hydroseeded lawns need time to establish strong root systems. Excessive foot traffic can compress the soil and damage young grass, delaying its growth.
- Limit activity on the lawn for 4–6 weeks after seeding.
- Use temporary barriers like stakes or caution tape to protect vulnerable areas.
- Keep pets off the lawn until the grass is fully established.
Common Problems and How to Fix Them
Even with meticulous care, you might encounter a few hiccups along the way. Here’s how to resolve common hydroseeding problems:
Bare Patches
- Causes: Uneven watering or seed washout.
- Solution: Reseed bare spots immediately and water them consistently.
Weeds
- Causes: Existing weed seeds in the soil germinating alongside grass.
- Solution: Wait until the grass is well-established before applying a selective herbicide.
Slow Growth
- Causes: Insufficient water or poor soil quality.
- Solution: Test soil for pH levels (ideal range is 6.0–7.5) and amend as needed.
User Reviews on Hydroseeding Success Stories
“Hydroseeding was a game-changer for our yard. Within three weeks, we had a lush carpet of green! The key was sticking to the watering schedule.” – John K. (4.8/5 rating)
“I was skeptical at first, but the process was so easy. Limiting traffic really made a big difference during those first few weeks.” – Sarah B. (4.5/5 rating)
FAQs About Hydroseeding
Q1. How long does it take for hydroseed to grow?
Most grass types begin to sprout within 7–10 days, with full growth achievable in about 6–8 weeks.
Q2. Can I walk on hydroseeded areas?
It’s best to avoid foot traffic for at least 4–6 weeks to allow the grass to establish its roots.
Q3. Does hydroseeding work better than sod?
Hydroseeding is more cost-effective and ideal for covering large, uneven areas, whereas sod provides instant results but at a higher cost.
Q4. Why does my hydroseed lawn look patchy?
Patchiness often results from uneven watering or poor sunlight exposure in certain areas.
Q5. How soon can I fertilize after hydroseeding?
The first fertilizer application should be about 4 weeks post-seeding to avoid burning young grass.
Wrap-Up
Learning how to care for hydroseed is essential for a full, vibrant lawn. With proper watering, fertilizing, and mowing routines, your grass will flourish in no time. Remember to stay patient during the early stages, as hydroseeding requires a few weeks of diligent care to yield long-lasting results. By following these tips, you’re well on your way to enjoying a lush, green lawn that’s the envy of the neighborhood.
Admin Recommended
Circle Garden Design Ideas
Garden Pest Crossword Clue: A Fun Guide to Solving and Understanding