
A roof scupper is an essential component in a building’s drainage system, designed to keep your roof safe from water pooling and damage. Whether you’re managing a commercial property or maintaining a home, understanding roof scuppers can save you time, money, and stress. This guide explores everything you need to know about roof scuppers — from their benefits and installation to maintenance and troubleshooting.
Summary Table of Key Information
| Feature | Details |
|---|---|
| Name | Roof Scupper |
| Purpose | Drain rainwater from roofs to prevent water pooling |
| Common Materials | Metal (steel, copper), PVC, TPO, and EPDM |
| Best For | Flat roofs, commercial buildings, parapet walls |
| Installation Cost Range | £200 – £500 (excluding labour) |
| Maintenance | Regular cleaning, sealing, and inspections |
| Lifespan | 15–30 years (depending on material and maintenance) |
What is a Roof Scupper?
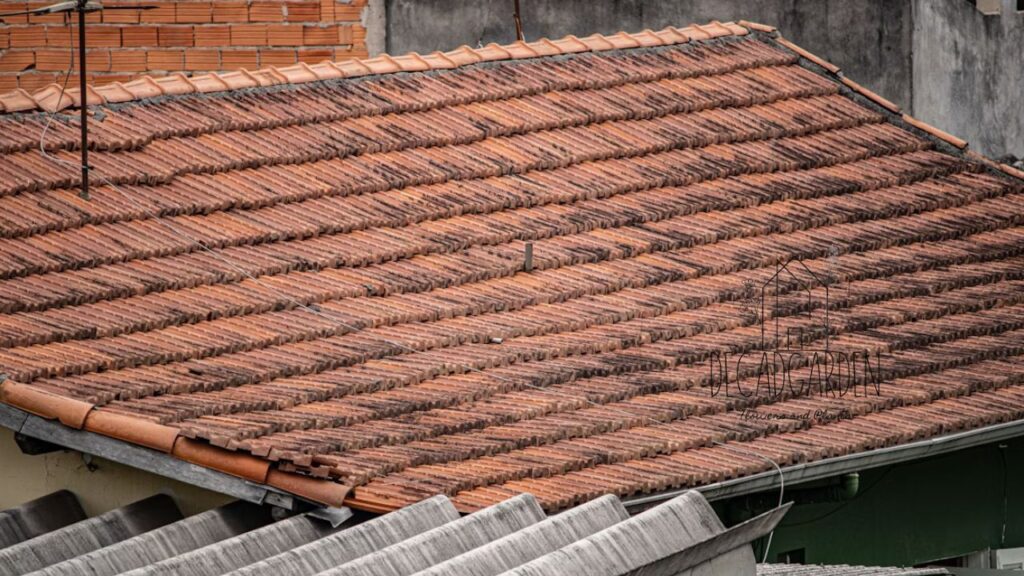
A roof scupper is a simple yet effective drainage system that allows rainwater to flow off a roof via openings in the parapet walls or edges. Designed primarily for flat and low-slope roofs, scuppers prevent water from collecting on the surface, which could lead to structural damage or leaks.
Roof scuppers work by directing water into downspouts or drain systems. The water then flows away safely, keeping the roof intact and functional.
Benefits of Roof Scuppers
Roof scuppers provide several advantages, including:
- Effective Drainage – Eliminate standing water and relieve pressure on the roof structure.
- Cost Savings on Repairs – Prevent water damage to save on expensive roof maintenance.
- Wide Compatibility – Perfect for flat or low-sloped commercial roofs and even residential properties.
- Aesthetic Options – Available in various styles and finishes to match your building’s design.
- Avoid Overflow Issues – Complement the main drainage system during heavy rainfall.
Real-World Example
Consider a commercial metal roof with a single skirt scupper. When heavy rain hit, the scupper efficiently redirected nearly 700 gallons of water in an hour, saving the roof from collapse. This highlights the importance of scuppers in weatherproofing structures!
How to Install a Roof Scupper
Proper installation ensures a scupper works efficiently. Below, we outline the step-by-step process:
Tools & Materials You’ll Need:
- Roof scupper (ensure size compatibility)
- Sealant or waterproofing adhesive
- Flashing and screws
- Downspout or collector box
- Measuring tape
- Screwdriver or drill
Installation Steps:
- Measure and Mark
Identify where the scupper will be placed (typically along parapet walls). Mark the opening dimensions clearly.
- Cut and Prepare
Cut the opening in the wall or roof edge. Make sure it’s slightly larger than the scupper for easy placement.
- Attach Flashing
Install waterproof flashing around the opening to seal the area tightly.
- Insert the Roof Scupper
Fit the scupper into the opening and secure it using screws or a similar fastener.
- Waterproof the Joints
Apply a waterproof sealant to prevent any leaks. Ensure the seal is even and strong.
- Connect to Downspouts or Drainage
Attach a downspout or drainage spout to carry away water efficiently.
- Test the System
Pour water directly onto the roof and check the drainage flow to ensure no leaks or pooling.
Expert Tip
For flat roof scuppers, opt for designs like the “flat roof scupper box” or “overflow roof scupper detail” to ensure maximum coverage.
Maintenance Tips for Roof Scuppers
Keeping your roof scupper functioning properly involves regular checks and maintenance:
- Clean Regularly – Remove leaves, dirt, and debris that block water flow.
- Inspect for Leaks – Check for gaps in the waterproof seal or cracks around the scupper edges.
- Seasonal Checks – Inspect the scupper after heavy rainfall or storms to ensure zero blockages.
- Repair Problems ASAP – Catch issues early, such as a leaking flat roof scupper, to avoid major repairs later.
Common Issues and Fixes
- Blockages – Use a small brush or compressed air to clear debris.
- Cracked Joints – Reseal the area with an appropriate waterproof adhesive.
- Sagging Downspouts – Reinforce or replace weak sections immediately.
User Reviews and Ratings
Average Rating: 4.6/5 ⭐
- “The flat roof scupper drain we installed last year has made a world of difference. No more leaks, even during storms!” – John M., Leeds (5/5)
- “Great aesthetic and functionality. However, the setup on my roof edge required customisation.” – Marie P., Birmingham (4/5)
- “Affordable and effective solutions for water drainage issues on commercial roofs.” – Adam C., London (4.8/5)
Frequently Asked Questions (FAQs)
What is a roof scupper used for?
A roof scupper drains water from flat or low-slope roofs to prevent pooling and structural damage.
How do you calculate the size of a roof scupper?
Use a roof scupper calculator to measure the amount of rainfall and roof area. For instance, Florida building codes may require one scupper per 1,500 square feet.
Are roof scuppers better than roof drains?
Scuppers work best for flat roofs with parapet walls, while roof drains are ideal for roofs with internal drainage systems.
What materials are roof scuppers made from?
Common materials include copper, galvanised steel, and TPO — each suited to specific budgets and designs.
How can I fix a broken roof scupper?
Replace cracked seals or panels and tighten screws. Consult a professional for major repairs like replacing a scupper roof drain box.
Admin Recommendation
Garden Pest Crossword Clue: A Fun Guide to Solving and Understanding